
Recently, after posting photos on the site, a few people have asked my questions about what settings I used when taking the shot and how I processed it afterwards. So, I thought I’d start an occasional series of “How I Made That” posts to describe my process.
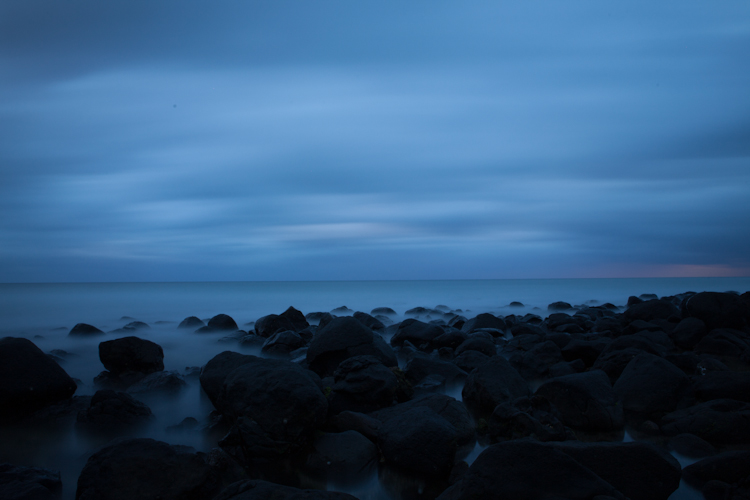
First up – the second shot in the recent Burleigh Boulders post. This was actually the last shot I took during this session, at 5:30am – about 25 minutes after the sun had risen.
Making The Shot – In the Camera
It was quite light already, but I wanted to continue with the silky water theme and catch some movement in the clouds, so broke out the Lee Big Stopper 10-stop Neutral Density filter. Without the filter, the camera metered the exposure as 1/4sec at f/13 and ISO160. With the Big Stopper on the front, that equates to a 4 minute exposure time.
Since there was a significant difference in the brightness of the sky compared to the rocks, I also added a graduated neutral density filter. From memory, I used the0.6 ND-grad, reducing the exposure of the sky by a further 2 stops.
When I got back to the computer and downloaded the shot, it was still a little too underexposed. Seems like the 4 minutes wasn’t quite enough.
Fixing It Up – In The Computer
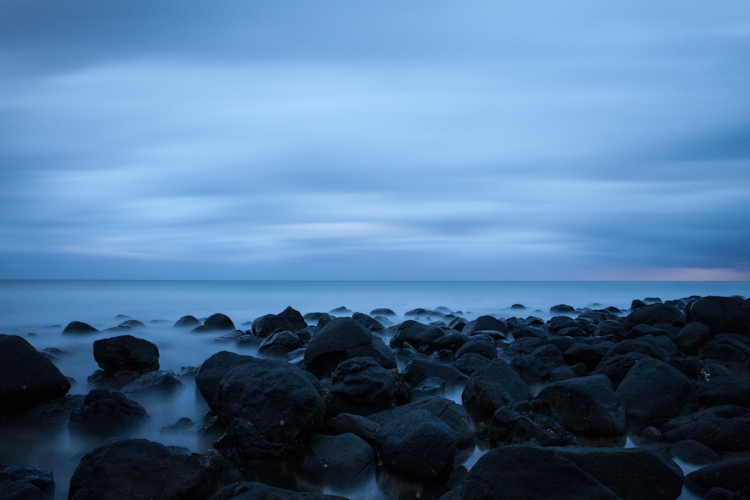
So, after straightening the horizon and getting rid of some dust spots, the next thing I did was increase the exposure across the whole image by almost a full stop. I also increased the clarity (+33) to bring a bit of definition to the moving clouds.
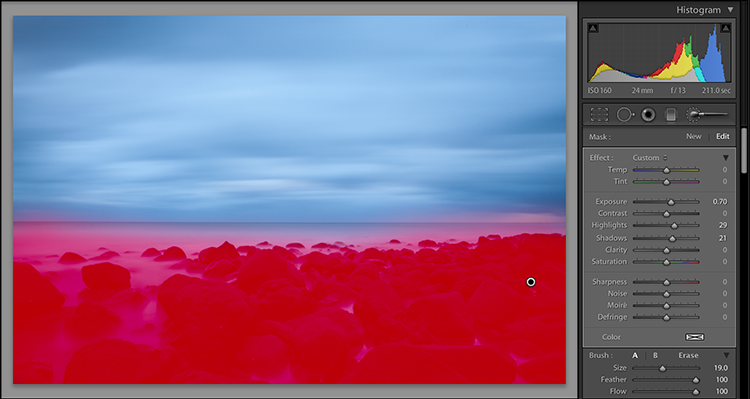
Still a but dark in the foreground though. Time to open up the adjustment brush panel in Lightroom, which I used to paint in a further exposure adjustment and also brought up both the highlights and shadows to bring some detail and definition into the rocks.
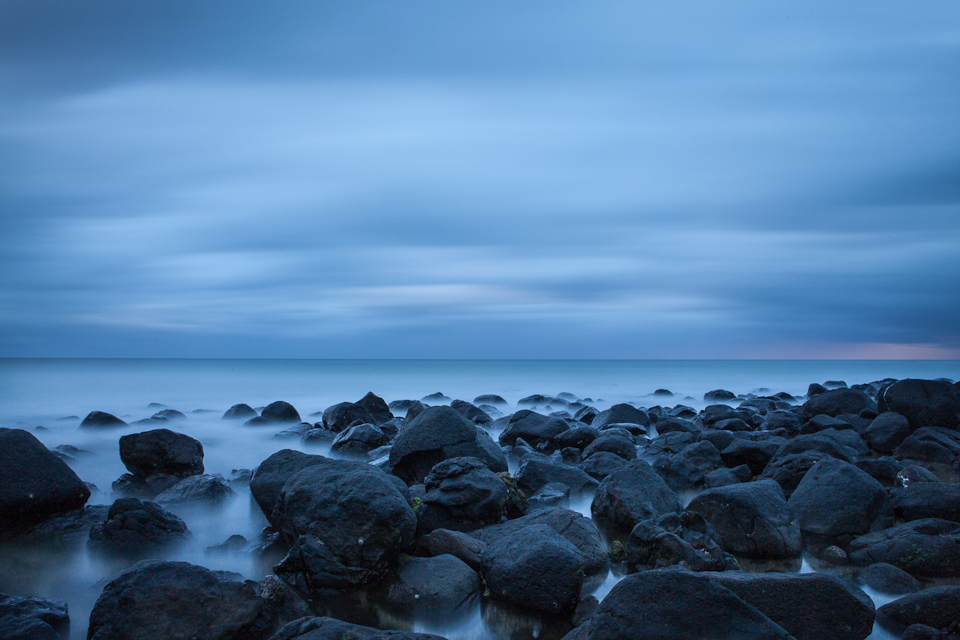
And that brings us to the final image.
I hope this has been useful. Let me know if there are any other photos that you’d like me to use for a future How I Made That post.