Here’s another in a very occasional series describing the process I used to create a photograph. Today, we’ll look at the first shot in yesterday’s Sunday Serenity post.
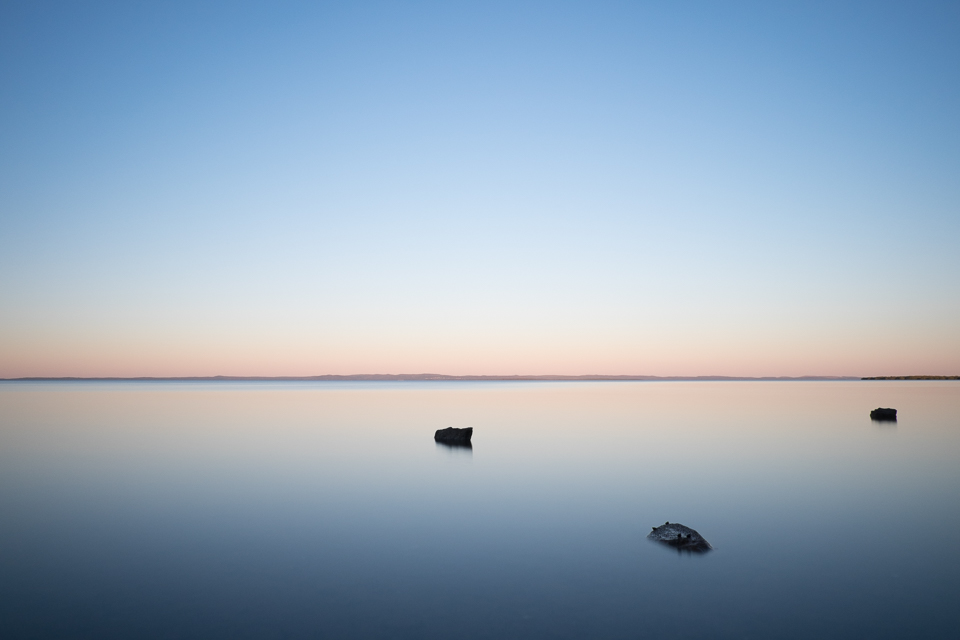
The photo was taken at around 5:00pm, about 15 minutes before the sun set behind my left shoulder. It was a 17sec exposure, using a Lee Big Stopper neutral density filter, with my lens at 18mm, an aperture of f/11 and camera on ISO320. The camera was on a tripod with legs unextended and standing in ankle-deep water. Straight out of the camera, the image looked like this.

Straight out of the camera
For mine, the scene was a little too dark overall, so I increased the exposure by about two-thirds of a stop.
Increased exposure
Since my trip to Hokkaido in January, I’ve been enjoying photos with a wider aspect ratio than the standard. So, I opened up the crop tool and selected the 16 x 9 ratio, to give the more panoramic crop of the final image.

Using the 16×9 crop tool
Next, to give the image a little more ‘punch’, I increased the saturation. The smoky horizon was producing a nice pink-orange glow, which the saturation adjustment brought out a little further, and then I darkened the blacks and shadows to add a bit more contrast.
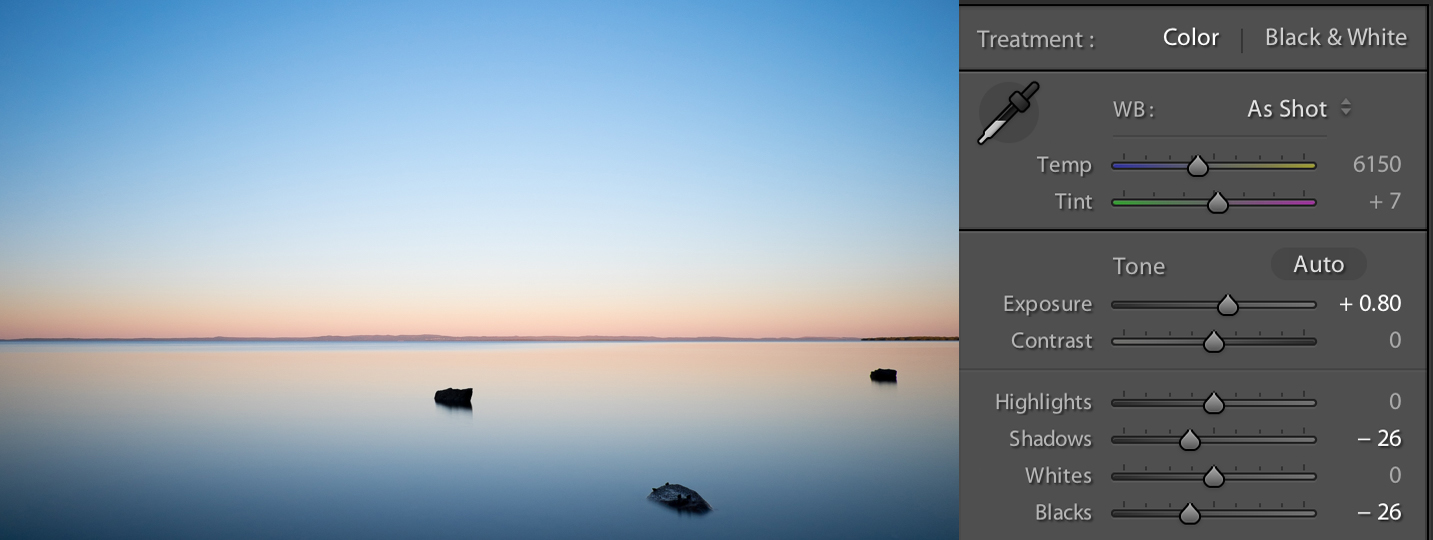
Adjusted blacks and shadows
As you can see from the original histogram, below left, there was a whole heap of unused tonal range in the image, particularly in the dark areas at the left of the histogram. So, in order to increase the tonal range, I adjusted the black and white anchor points in Lightroom’s curves tool. This effectively ‘stretches out’ the histogram, bringing the dark mid-tones of the original into the shadow areas, and to a lesser extent, the lighter mid-tones are brought up into the highlight area. You can see the impact this change has on the image below the Lightroom screenshots, which is now really starting to look closer to the final version.
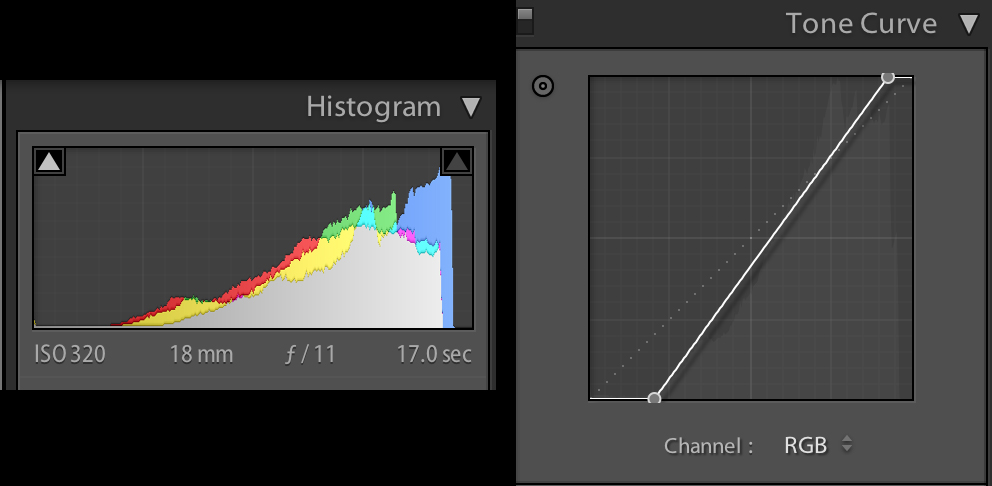
Original histogram (left) and the curve tool (right) with adjusted black and white anchor points
See that rock in the foreground? It was still a bit wet from the receding tide, and had some nice blue reflection on it, which the adjustments so far had removed. So, I added an adjustment brush stroke, and increased the exposure on that rock to bring back those details.
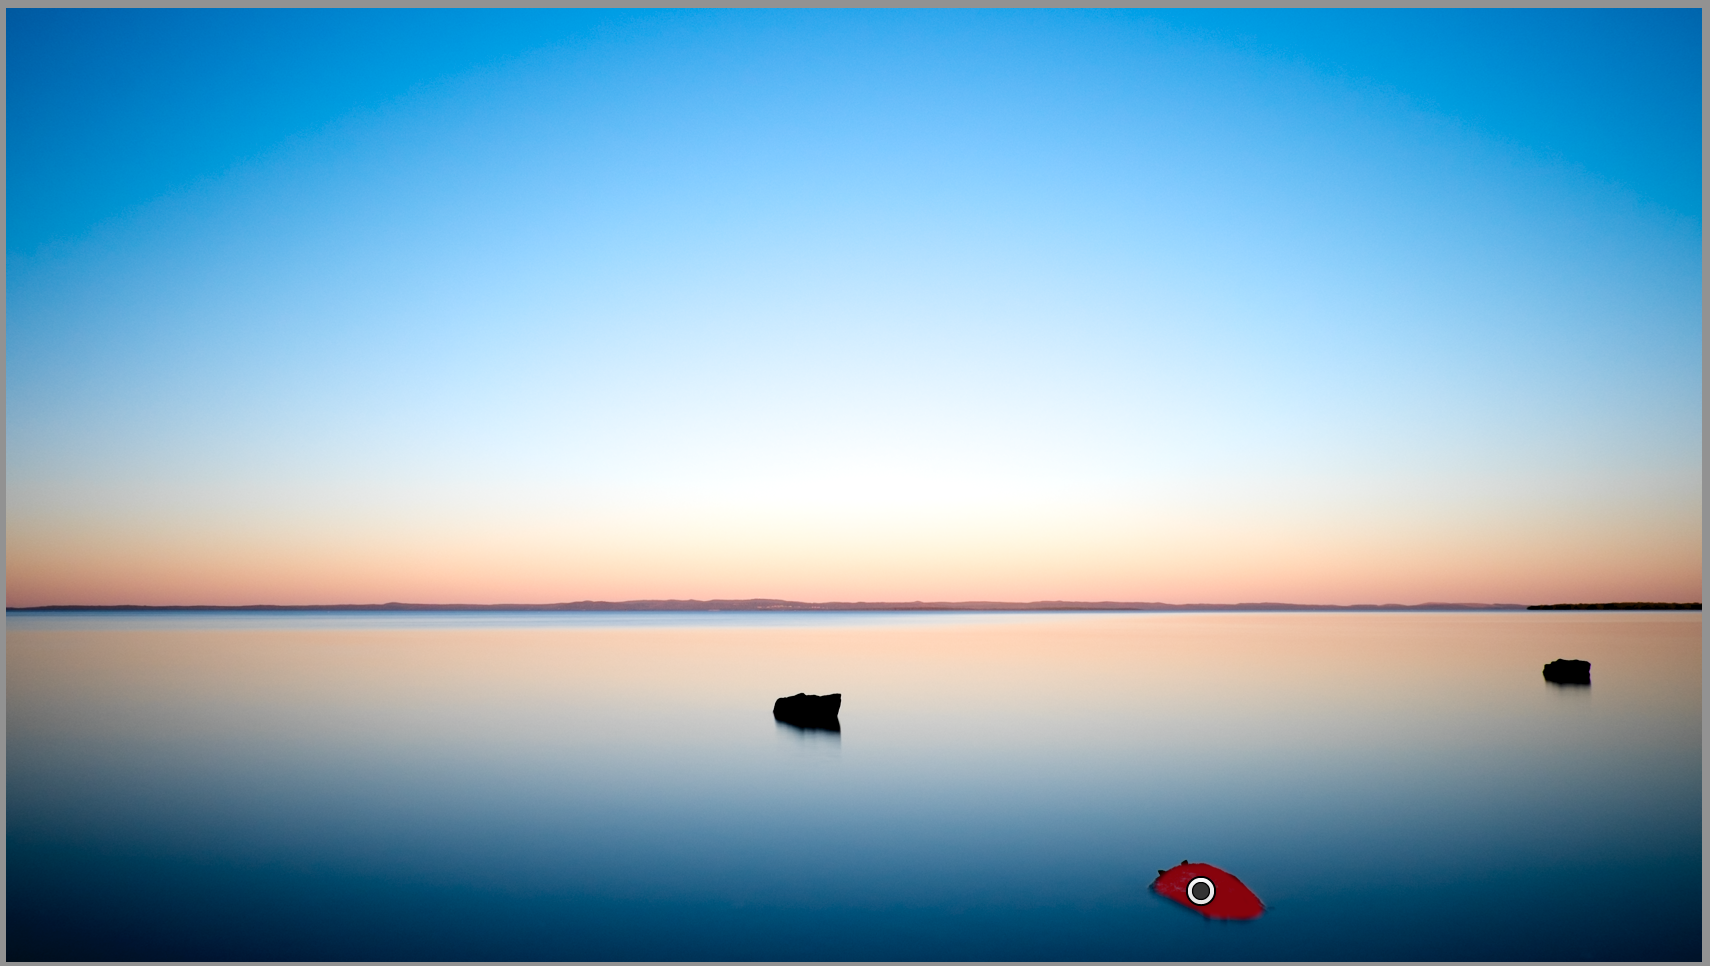
Red shading indicates where I applied the brush tool to adjust the exposure on the rock
And then finally, I wanted to get rid of the dark vignette that had been created by a combination of a the processing done so far, and the fact that I had a filter holder and filter over the wide-angle lens. To do this, I opened up the Effects panel in Lightroom and dragged the Post Crop Vignette slider across to the right to lighten up the corners a little and bring us to the final image.
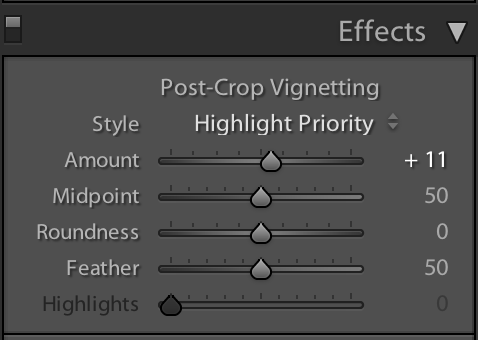
Post-Crop Vignette tool to lighten the corners of the image
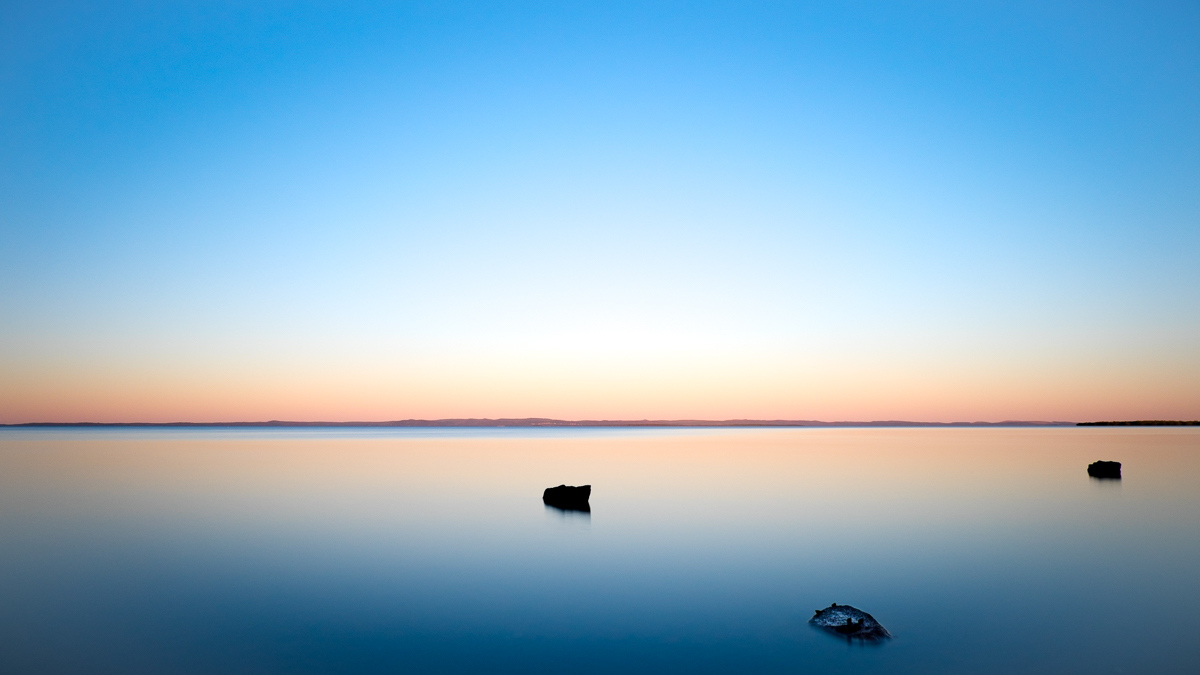
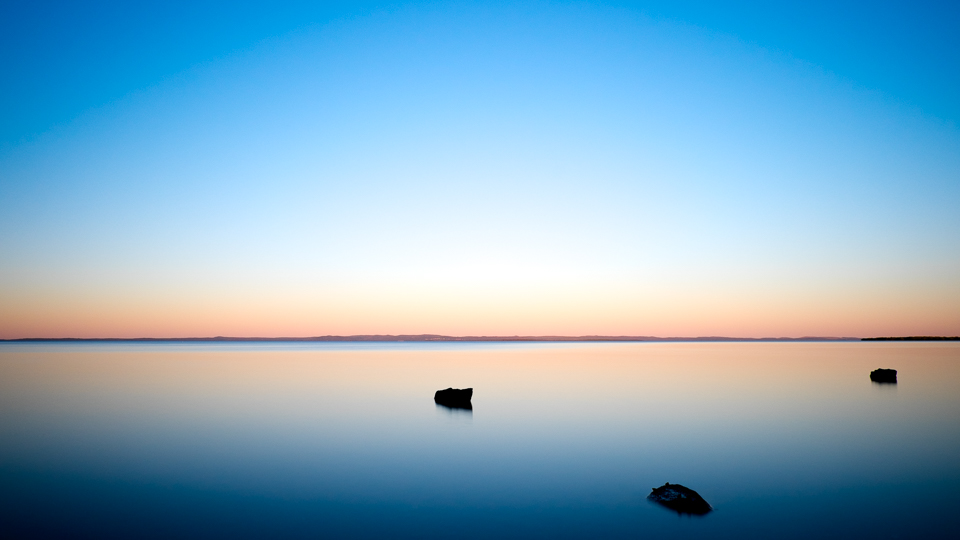
The final result